
How Much Value Does a Kitchen Remodel Add to Your Home?
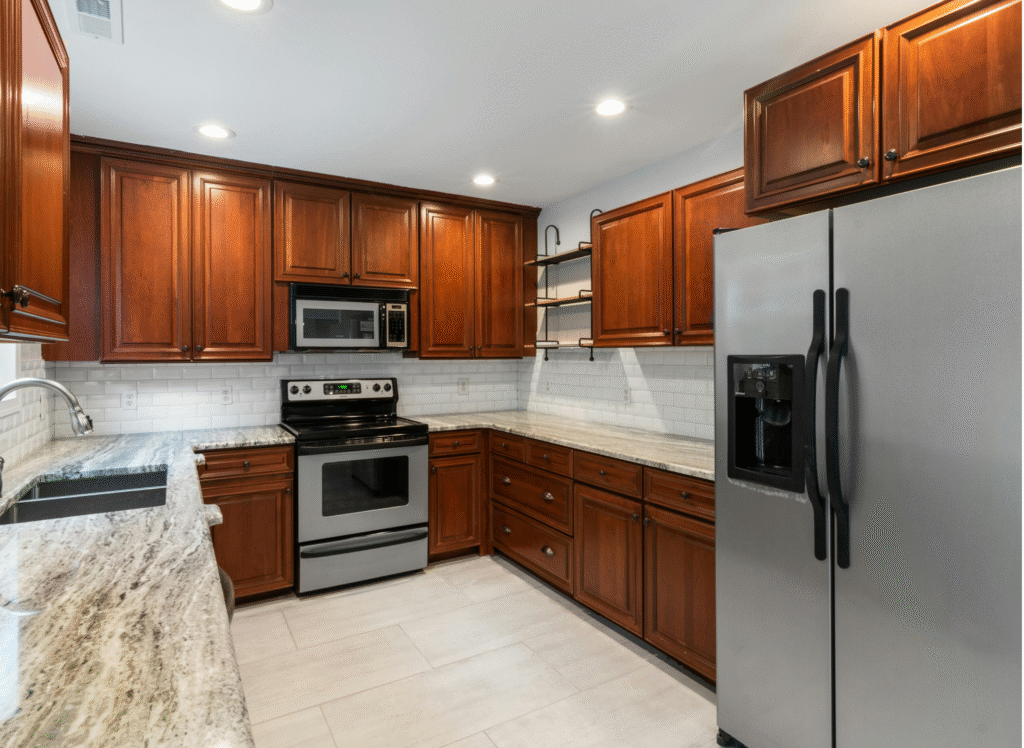
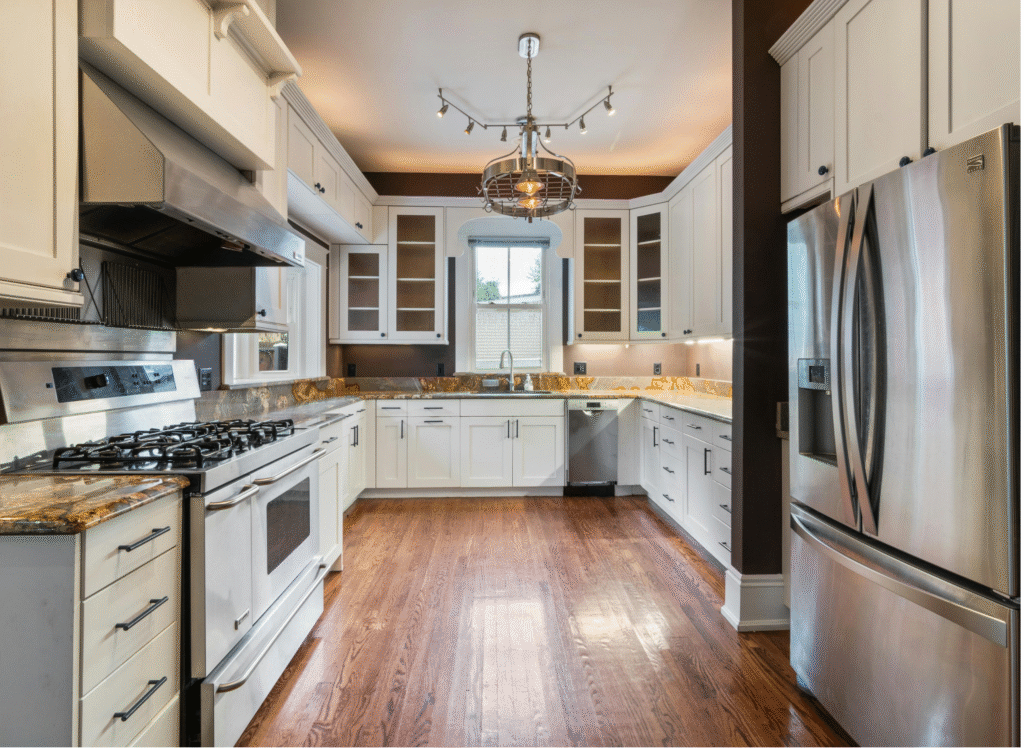
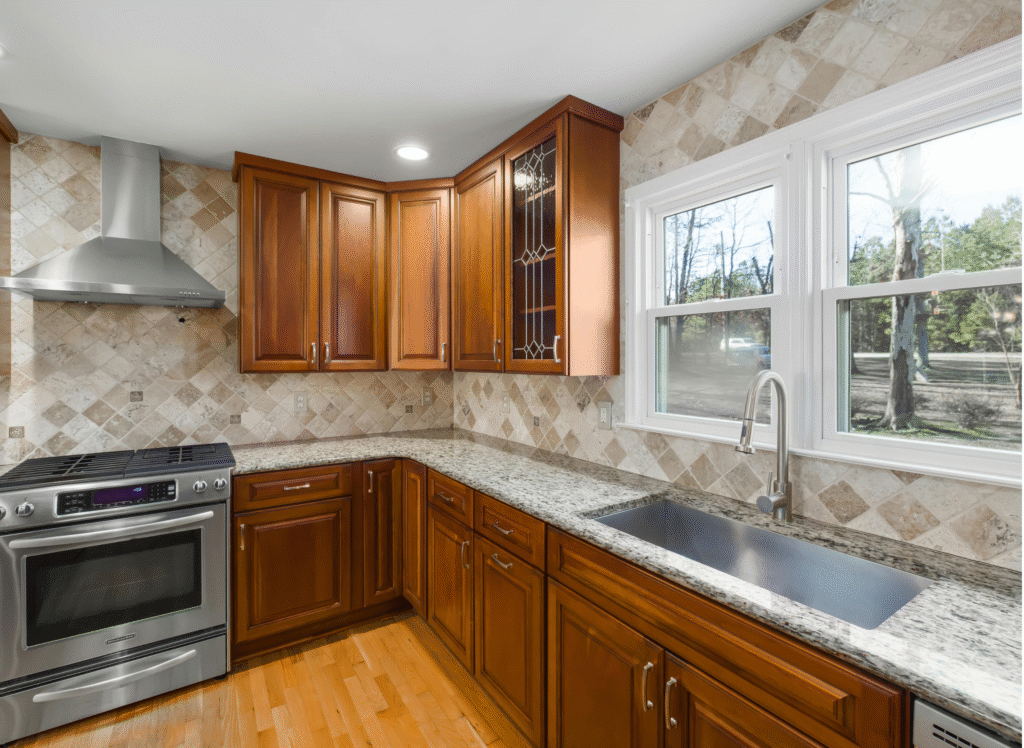
How to Choose a Kitchen Remodeling Contractor: A Complete Guide for Homeowners
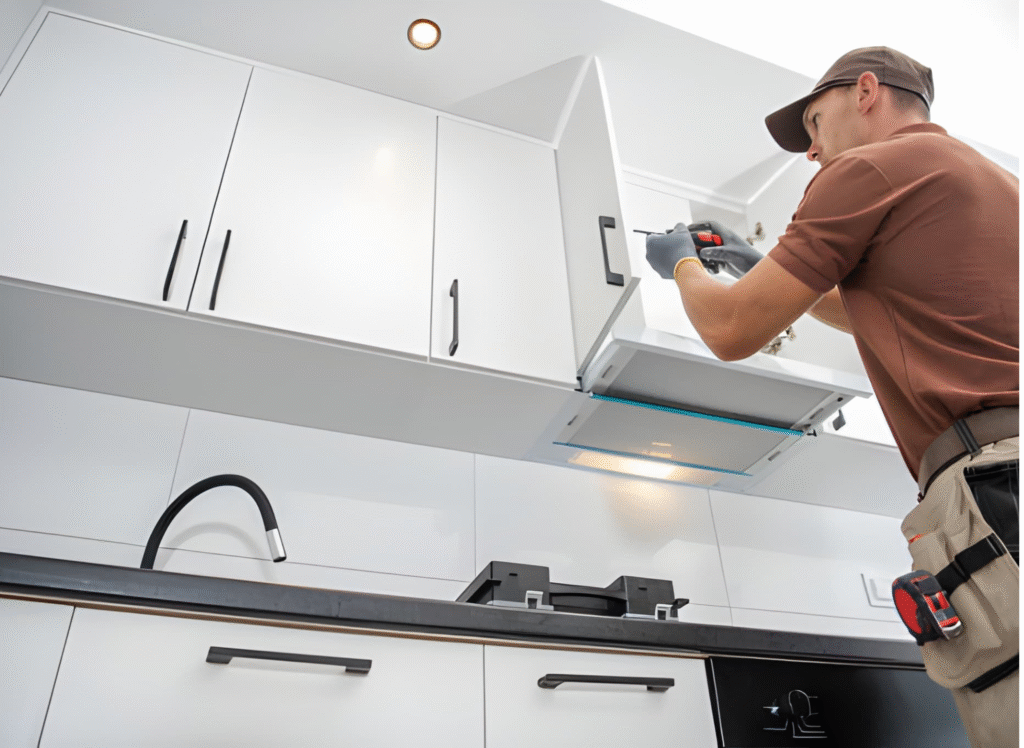
Kitchen Remodel Survival Guide: Stay Sane, On Budget & In Control
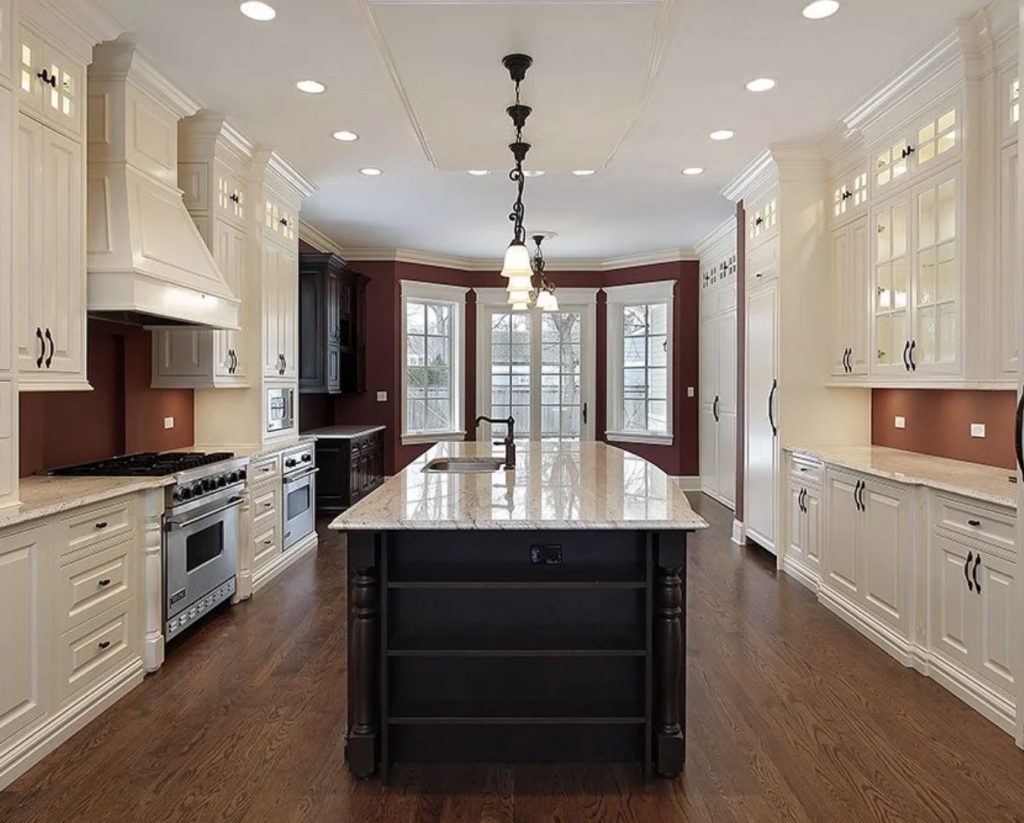
The demo crew arrives Monday. By Tuesday afternoon, your kitchen — the room where your household actually runs — is a gutted shell of exposed studs and disconnected plumbing. You knew it was coming, and yet nothing quite prepares you for the physical reality of living without your kitchen for weeks on end.
The difference between homeowners who come through a kitchen renovation energized and those who come out depleted almost always comes down to one thing: how well they prepared before the first hammer swung.
This guide gives you everything you need to plan smarter, protect your home, manage your budget, and maintain your household’s sanity from demo day through the final walkthrough.
Kitchen Remodel Planning: The Foundation That Determines Everything
A successful kitchen remodel begins with a detailed pre-construction plan that defines the project scope, timeline, material selections, and communication structure before any demolition starts. Decisions made — or delayed — in the planning phase are the primary driver of cost overruns and schedule extensions.
The most common mistake homeowners make is treating planning as a formality before the “real” work begins. In reality, planning is where the project is either set up to succeed or quietly positioned to fail. Every week of thorough upfront preparation can save two weeks of reactive problem-solving mid-renovation.
Define the Scope Before You Touch a Cabinet
Walk through every aspect of the renovation with your contractor in explicit detail:
- Which walls are being opened or removed?
- Are plumbing or electrical lines being relocated?
- What flooring is being replaced?
- Which appliances are being swapped or upgraded?
Ambiguity in scope is the single greatest predictor of change orders — and change orders are how kitchen remodel budgets quietly double. Ask your contractor to provide a phase-by-phase project schedule covering demolition, rough plumbing/electrical, cabinet installation, countertop templating, fabrication, tile work, and finishing.
Order Materials Before Construction Starts
Supply chain variations continue to shape home renovation timelines. Cabinet lead times from many manufacturers can run anywhere from 8 to 14 weeks (National Kitchen & Bath Association). Countertop fabrication typically adds another 2 to 3 weeks after cabinet installation. Specialty tile, imported fixtures, or custom hardware can extend those windows further.
The smartest contractors will not schedule a project start date until all long-lead materials are confirmed, ordered, and have estimated delivery windows. If you are working with a contractor who wants to begin before materials are secured, treat that as a major warning sign.
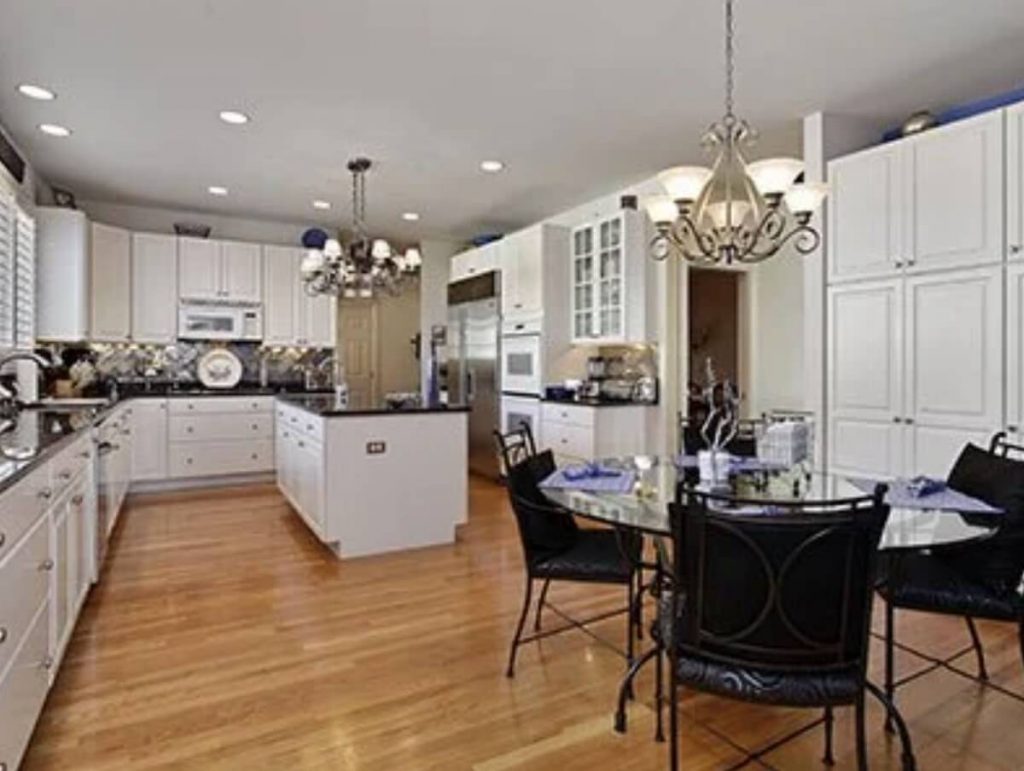
How to Set Up a Temporary Kitchen That Actually Works
Most kitchen remodels take 6 to 12 weeks from demolition to completion. Setting up a functional temporary kitchen in another room before construction begins is not optional — it is the infrastructure that keeps your household running and prevents thousands of dollars in unnecessary restaurant spending.
The goal is not to replicate your full kitchen. It is to cover the essential functions: hot beverages, reheated meals, and basic food storage. A surprisingly capable temporary setup can be assembled in a spare room, …
Emergency Roofing Services You Can Trust: How Exponential Construction Corp. Protects Your Home When It Matters Most


The Moment You Search “Backyard Remodel Near Me”: A Story Every Homeowner Relates To


Residential Roofing Repair: The Hidden Home Problem Most Homeowners Ignore (Until It’s Too Late)

Residential Roof Construction: XP Constructions Complete Guide to Residential Homes


Do You Need a Permit to Remodel a Kitchen? XP Construction Explains
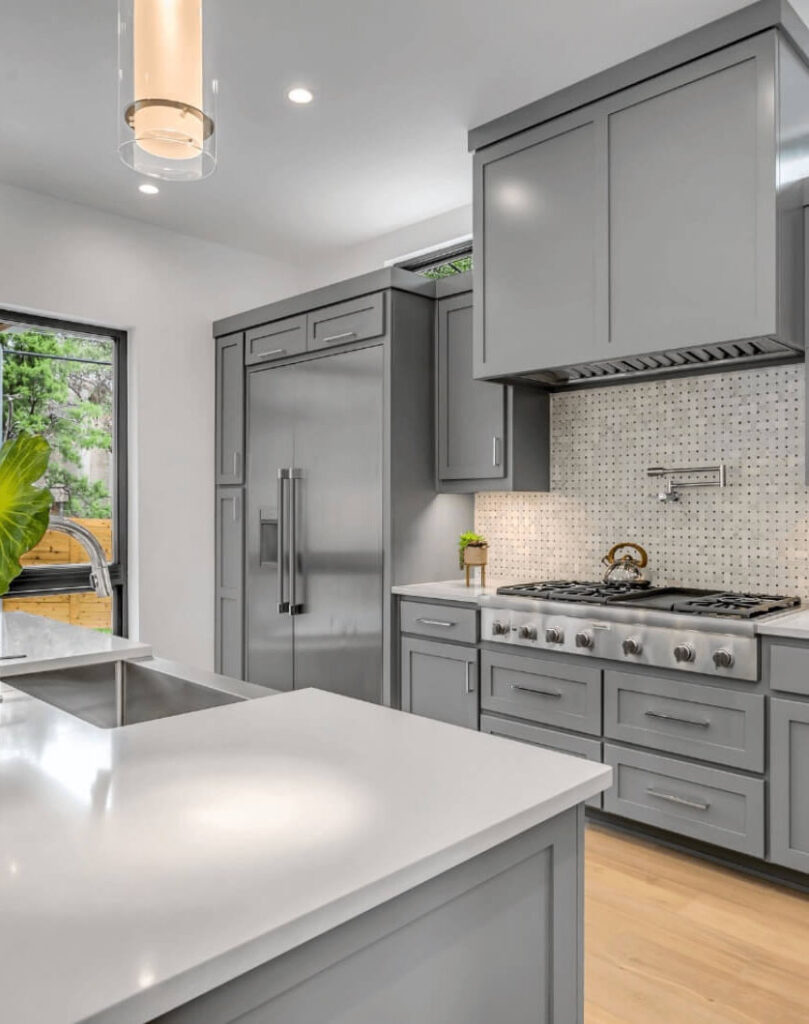
The Complete Home Remodel Checklist for 2026
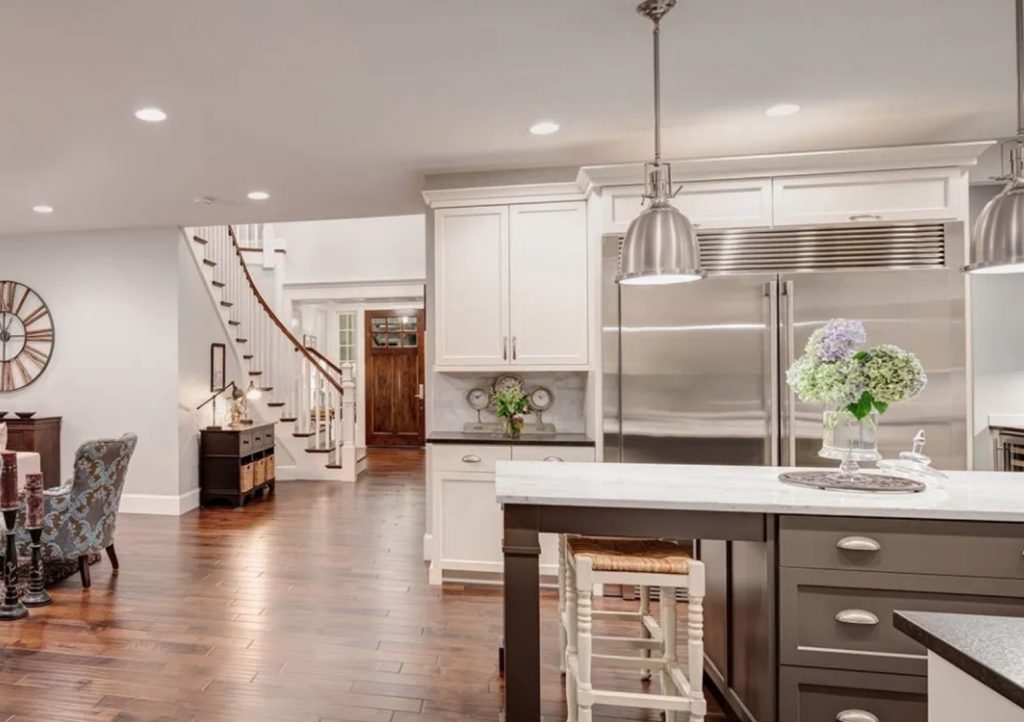
A genuinely useful home remodel checklist walks you through every phase of a renovation, room by room and decision by decision, whether you are updating a single bathroom or gutting an entire house from top to bottom. The difference between a remodel that runs smoothly and one that spirals into delays and budget overruns almost always comes down to preparation done before demolition ever begins, not talent or even how much money is available for the project.
This checklist covers every major phase of a home remodel, from defining your goals through final walkthrough, giving you a genuine framework to stay organized and avoid the costly surprises that catch so many homeowners off guard.
Creating a Project Documentation System
Keeping organized records throughout your remodel, including permits, contracts, material specifications, warranty information and receipts, genuinely protects you if questions arise later, whether during construction, at resale, or when filing a future insurance claim related to the work performed. A simple physical binder or a dedicated digital folder, organized by room or project phase, keeps this documentation genuinely accessible rather than scattered across emails, text messages and paper receipts that become difficult to locate months or years later.
Taking photos throughout construction, particularly of elements that will become permanently concealed once finish work is complete, including framing, rough electrical and plumbing, provides a genuine record of exactly how your home was built. This documentation proves valuable for future maintenance planning, potential warranty claims, and even simply satisfying your own curiosity about what lies behind your walls years after the project wraps up.
Preparing Your Household for Construction Disruption
Beyond the technical planning, genuinely consider how your household will function during the active construction phase, when portions of your home will be temporarily unusable and daily routines will inevitably shift. If your kitchen is part of the remodel, plan a realistic temporary cooking setup, whether that means a microwave and small refrigerator elsewhere in the home or simply budgeting for more frequent meals out during the most disruptive weeks. If bedrooms or bathrooms are affected, arrange alternative sleeping or bathing arrangements well before construction actually begins rather than scrambling once the disruption is already underway.
Discussing this practical disruption honestly with every household member, including children who may need extra reassurance during a genuinely unsettling period of change, helps set realistic expectations and reduces the stress that unplanned disruption can otherwise create partway through an already demanding project.
Deciding Between a Full Remodel and a Phased Approach
Not every homeowner needs or can afford to tackle their entire remodel vision in a single project, and breaking a larger renovation into distinct phases offers a genuinely practical alternative to either overextending your budget or indefinitely postponing needed improvements. Addressing the most functionally pressing rooms or systems first, then returning to complete additional phases as your budget allows over subsequent years, lets you make genuine progress without financial strain, provided you plan each phase with the complete vision in mind from the start.
This …
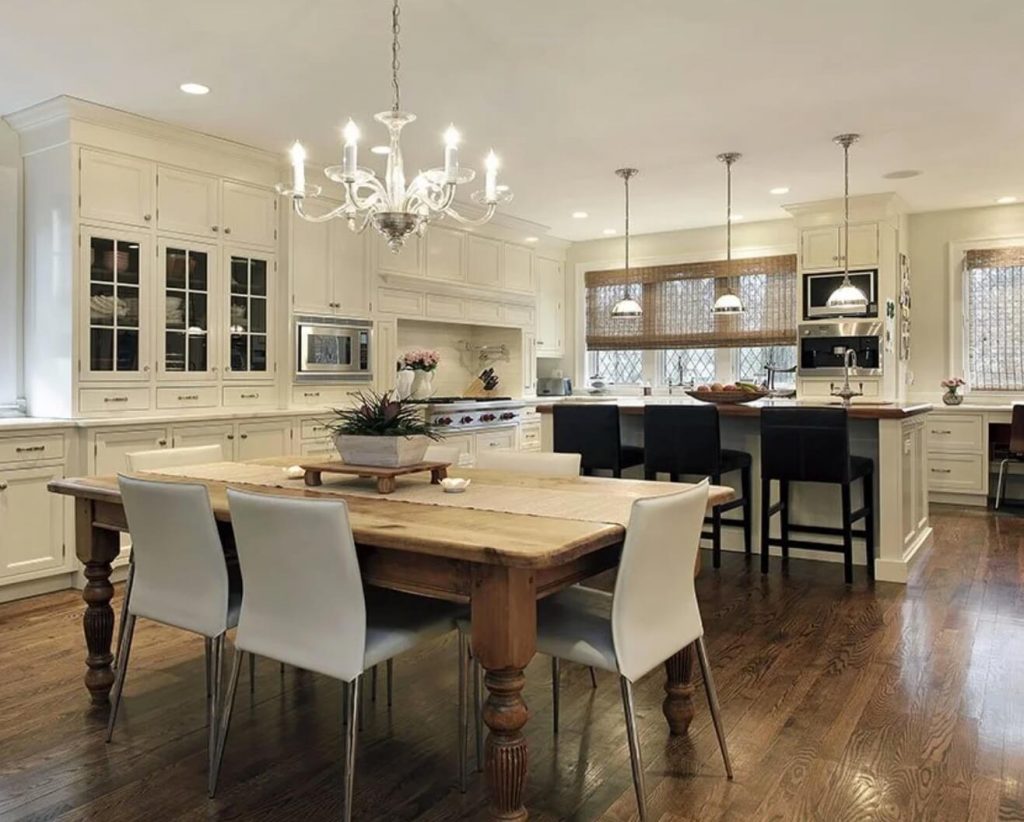
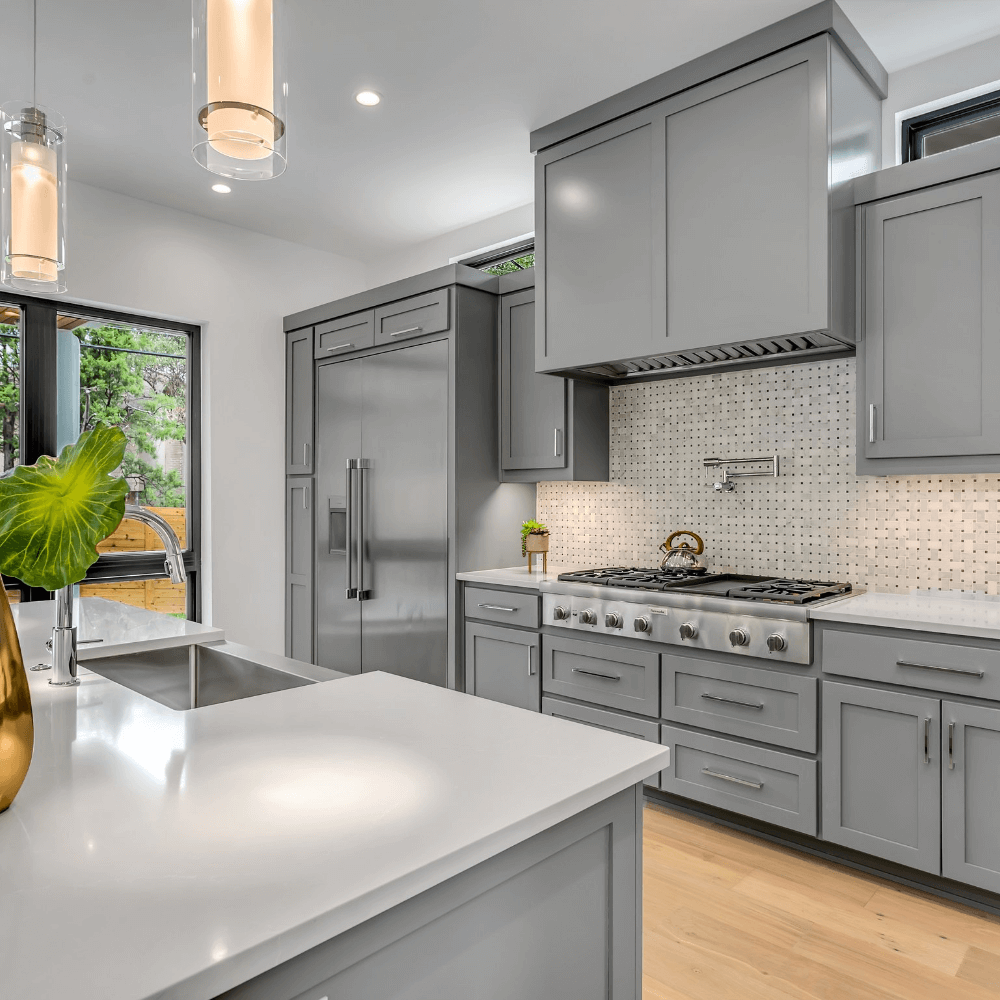
When Remodelling a Kitchen What Comes First?
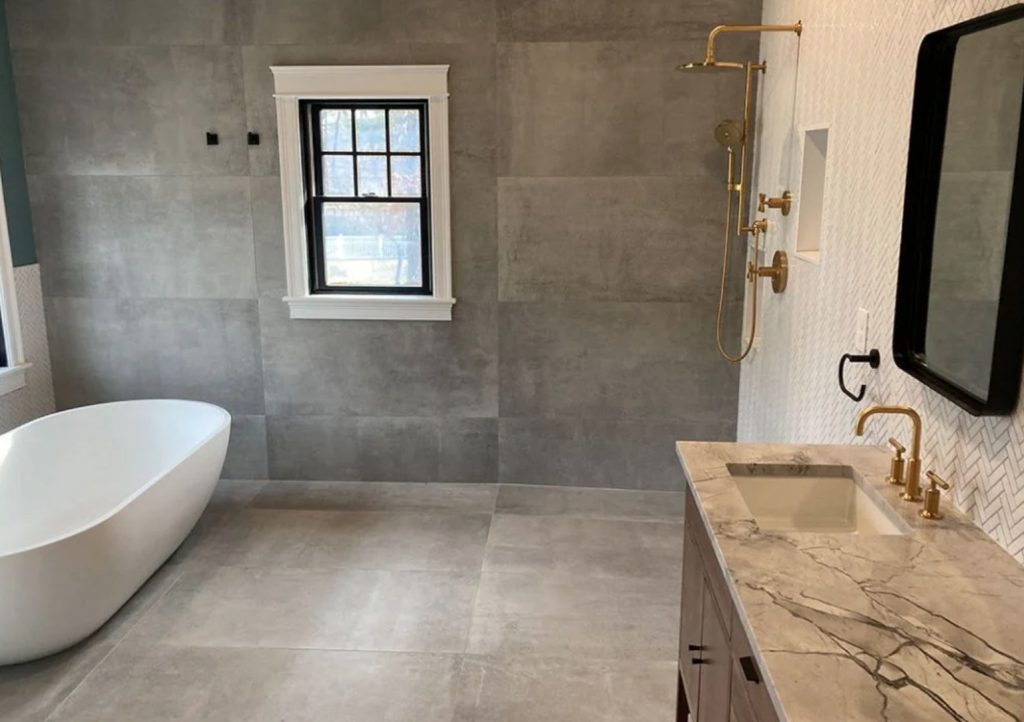
How Long Does It Take to Remodel a Small Bathroom?

Upgrading your Residential Deck

A survey of construction (SOC) report conducted by the US census bureau found that 17.5% of the 1.1 million single-family homes built in 2021 have been built with a deck. This trend is expected to experience steady growth in the next few years, with Coherent Market Insights projecting the wooden deck market to experience a global compound annual growth rate (CAGR) of 5.27% from 2022 to 2030. The residential sector has been identified as the fastest-growing market in this industry. The addition of these fixtures offers multiple benefits, including a great return on investment (ROI), enhanced curb appeal, and improved functionality. Modern designs and accessories have also transformed this extension from a simple seating area to a variety of possible applications.
Some popular upgrades a Porch Builder can add to a deck when renovating this area include:
Developing Designated Spaces
There are multiple options when it comes to decking applications and individuals can set up multiple bespoke solutions with their extension. Individuals who would like to maintain the orthodox approach of a seating area with their design can have a variety of options such as couches, deck chairs, and long lawn options. One of the more popular options available with deck designations is bar sections, dinner settings, and barbeque spots. In most cases, the use implemented with the designation will determine its best position. Seating and tables, for instance, are best placed in the middle of the deck but to the side and away from the entrance. Grills should be placed on one side of the extension but not directly against the railing. Applying a designated space to the deck allows an individual to personalize this section to their particular needs and preferences.
Enhancing Security
Security has become a leading matter of concern with the continued rise of crime in a myriad of places. Decks represent an entryway through which invaders can gain access to one’s home or offer a potential target in itself as well. Improving the security details of your home can be crucial to the well-being of the household. Leaving this area unprotected can lead to the extension serving as cover for potential burglars keen to hide in the shadows. Having the Porch Builder install security lights with the extension is one of the simplest ways of enhancing security levels. People planning home invasions generally tend to avoid well-lit areas as their objective is to remain unseen. Installing security cameras around the structure is also recommended. Placing one or two warning signs notifying intruders of camera surveillance and an alarm network is something that not many people consider, but is a great deterrent against home invasions.
Ambient Lighting
Installing ambient light is a simple but effective way of influencing the atmosphere of this space. Soft mid-level lighting, for instance, can encourage a restful and welcoming environment that encourages individuals to relax. There are numerous options to choose from when it comes to lighting options, with smart alternatives becoming a popular option for individuals who would like a …