Benefits of Hiring a Professional House Painter: 7 Proven Reasons
One of the major decisions involved with painting your residence is whether to hire a professional or approach the task as a DIY project. Although painting may seem like a relatively straightforward job on the surface, there are multiple important factors to consider when tackling it at a professional level. Understanding the benefits of hiring a professional house painter helps you make an informed decision about whether bringing in expert help is the right choice for your specific project.
This guide walks through seven proven benefits of hiring a professional house painter, from faster project completion and superior quality to expert guidance on colors, finishes, and stylistic choices.
Why the DIY vs. Professional Decision Matters More Than You Might Think
Many homeowners initially lean toward a DIY approach to house painting, drawn by the perceived cost savings and the sense of personal satisfaction that comes from completing a home improvement project independently. While this approach can work well for very small, simple tasks, the reality of painting an entire house, or even a significant portion of one, is considerably more complex than it appears.
The benefits of hiring a professional house painter extend well beyond simply having someone else do the physical work. They encompass quality of results, time efficiency, access to expertise, and protection from costly mistakes that can occur when the job isn’t executed with the right tools, techniques, and materials.
1: Faster Project Completion
If you’d like to give your entire house a fresh coat of paint or want the task completed sooner rather than later, hiring an established painting contractor ensures the job is finished as quickly as possible without sacrificing quality. Handling the job yourself requires working around your existing schedule, and even if you manage to free up significant time, it’s unlikely you’ll match the speed of an experienced professional team.
Why Professionals Work Faster Without Cutting Corners
Professional painters work faster not because they rush, but because they’ve completed the same tasks hundreds of times before. Their efficiency comes from familiarity with the process, proper tools, and an established workflow that minimizes wasted time between steps. What might take a homeowner an entire weekend to complete on a single room can often be finished by a professional team in a fraction of the time.
The Real Cost of a Prolonged DIY Project
A DIY painting project that drags on over multiple weekends creates extended disruption to your household routine and keeps rooms out of normal use for far longer than necessary. For homeowners in Newton MA looking to minimize disruption, particularly during a broader renovation, professional painters offer a significantly faster path from start to finish.
2: Superior Quality Results
The experience that comes with a professional painter is not something that can be easily replicated through a DIY effort, regardless of how much preparation or research goes into the attempt. If you’re painting your house with the aim of enhancing its resale value or simply achieving a finish that looks genuinely impressive, …
Choosing Paint for Your House: 7 Proven Tips to Get It Right
Contrary to popular belief, buying house paint is not just about choosing a color that appeals to you and ensuring you have an adequate amount to cover the surface area involved. In some cases, the smaller, less obvious elements can make a significant difference when it comes to the quality and longevity of the final result. Understanding what to consider when choosing paint for your house helps you make informed decisions that deliver a finished result you’ll be genuinely satisfied with for years to come.
This guide walks through seven proven tips for choosing paint for your house, covering everything from lighting and finish selection to quality, color coordination, and the specific requirements of different surfaces throughout your home.
Why Paint Selection Deserves More Thought Than Most Homeowners Give It
Walk into any paint store and the sheer number of options available can feel overwhelming. Colors, finishes, formulas, brands, and price points all vary significantly, and the differences between them matter far more than most homeowners initially realize. A paint that looks perfect on a chip in the store can look entirely different once applied to a full wall under your home’s specific lighting conditions. A finish that works beautifully in one room can be completely wrong for another.
Taking the time to think through the factors outlined below before making any paint purchases helps you avoid costly mistakes and ensures the colors and finishes you choose genuinely work in your specific space.
1: Consider the Lighting in Each Room
The amount of natural and artificial light available in the rooms being painted plays a significant role in determining which shades will look best in those specific areas. Darker shades, for instance, can work beautifully in rooms that enjoy a generous amount of natural light, creating a cozy, intimate atmosphere without feeling oppressive. Those same darker shades, however, can feel claustrophobic and heavy in rooms with minimal lighting, making a space feel significantly smaller and more confined than it actually is.
Assessing Natural Light Before Choosing Colors
Before finalizing any color selection, spend time in the room at different times of day to observe how the natural light changes. A room that receives bright morning sun may look very different by late afternoon, and a color that appears warm and inviting under one lighting condition can shift noticeably under another. Testing paint samples on the actual wall and observing them under both natural and artificial light is one of the most reliable ways to make confident color decisions.
How Artificial Lighting Affects Color Perception
The type of artificial lighting in a room also affects how paint colors appear once applied. Warm incandescent or warm LED bulbs tend to bring out yellow and red tones in paint colors, while cooler daylight bulbs can make the same color appear bluer or greener. Understanding your room’s lighting setup before committing to a color helps ensure the finished result looks the way you intended under the conditions in which the room will actually be
When Does Your House Need a Fresh Paint Job? 7 Clear Signs
One of the first signs of a rundown and neglected residence is its outward appearance in terms of quality and aesthetics. Although the visual condition of your home isn’t as critical as its structural integrity, it’s still an important aspect of ongoing house maintenance that affects both how your home looks and how well it holds up against the elements over time. Knowing when your house needs a fresh paint job helps you address the issue proactively, before minor cosmetic problems develop into more significant and costly damage.
This guide walks through seven clear signs that your house is due for a fresh coat of paint, covering both interior and exterior indicators that it’s time to call in a professional painting contractor.
Why Timely Repainting Matters More Than Most Homeowners Realize
Many homeowners think of repainting primarily as a cosmetic decision, something to consider when the color feels dated or simply isn’t to their taste anymore. In reality, paint serves a protective function as much as an aesthetic one, particularly on exterior surfaces where it acts as the first line of defense against moisture, UV damage, temperature fluctuations, and other environmental stresses.
When paint begins to fail, whether through fading, peeling, cracking, or deterioration, the surfaces beneath it become increasingly vulnerable to the kind of damage that goes well beyond a cosmetic issue. Addressing the signs early, while repainting is still a straightforward maintenance task, consistently costs far less than waiting until underlying surfaces have been compromised and require repair work alongside a repaint.
1: Fading and Peeling Paint
If you haven’t hired a professional painter for several years, there’s a high likelihood the signs of wear will be clearly visible on your walls. Paint typically begins to fade and peel after five to ten years, depending on a variety of factors including climatic conditions, the quality of the paint previously applied, and how well the surface was prepared before the last paint job.
Understanding Why Paint Fades and Peels
Exterior paint in particular is constantly exposed to UV radiation, moisture, temperature swings, and other environmental stresses that cause even quality products to degrade over time. Fading is generally the first sign, as UV exposure breaks down the pigment in the paint and causes colors to look washed out and dull. Peeling typically follows, particularly in areas where moisture has found its way beneath the paint film, causing it to lose adhesion to the underlying surface.
Interior Paint Fading
Interior paint fades more slowly than exterior paint since it isn’t exposed to the same environmental stresses, but it still degrades over time, particularly in rooms with significant natural light or in high-traffic areas where surfaces are frequently touched or cleaned. If your interior walls look noticeably duller and less vibrant than they did when the paint was first applied, that’s a clear sign a fresh coat is overdue.
2: Deteriorating Caulking Around Doors and Windows
Caulk is a sealant material frequently used around doors, windows, and other joints in …
What to Consider When Painting Your House: 7 Key Tips

Painting your house every few years is a recommendable practice for all homeowners. Not only does a fresh coat of paint maintain the overall look of your house, but it can also raise the potential resale value of the residence when it comes time to sell. However, this activity isn’t as simple and straightforward as some people might assume. Understanding what to consider when painting your house before you begin helps you avoid costly mistakes and ensures the finished result looks professional and lasts for years to come.
This guide walks through seven key factors to keep in mind when planning a house painting project, whether you’re hiring a professional or preparing to oversee the work yourself.
Why Careful Planning Makes a Real Difference
A paint job might seem like a straightforward home improvement task, but the quality of the finished result depends heavily on decisions made before the first coat is ever applied. Skipping proper planning often leads to uneven coverage, premature peeling, or a finish that simply doesn’t hold up the way it should.
Taking the time to think through each of the factors below, before committing to a specific approach, sets the foundation for a paint job that looks great and performs well for years.
1: Determine Whether the Project Is Interior or Exterior
One of the first things any professional Newton MA Painter will inquire about when you’re seeking information regarding their services involves the kind of paint job concerned. The manner in which this project is approached will depend heavily on the elements involved, since interior and exterior painting call for very different techniques, products, and preparation.
Why Exterior Paint Jobs Require Extra Planning
An external paint job, for instance, will need to consider elements such as the weather, dust, and dirt that don’t factor into interior work. Exterior surfaces are exposed to sun, rain, and temperature swings, which means the paint used has to be formulated to withstand these conditions without fading, cracking, or peeling prematurely.
How Interior Projects Differ
Interior painting takes place in a controlled environment, but it still requires its own set of considerations, including ventilation, drying time between coats, and protecting furniture and flooring from drips and splatters. Understanding which category your project falls into shapes nearly every other decision that follows, from the products you choose to how long the project will take.
2: Prepare the Surface Properly
Preparing the surface for a paint job involves prepping the region in terms of providing a smooth, clean surface for the painting process. Caulk or putty can be used to address any cracks or gaps, while shiny or glossy spots can be lightly sanded down to dull the surface and improve paint adhesion.
Why Surface Preparation Can’t Be Skipped
Paint applied over an unprepared surface rarely looks good and almost never lasts as long as it should. Dirt, grease, and old flaking paint all prevent new paint from bonding properly, leading to peeling and an uneven finish within a relatively short
Signs Your Deck Needs a Renovation: 7 Warning Signs to Know
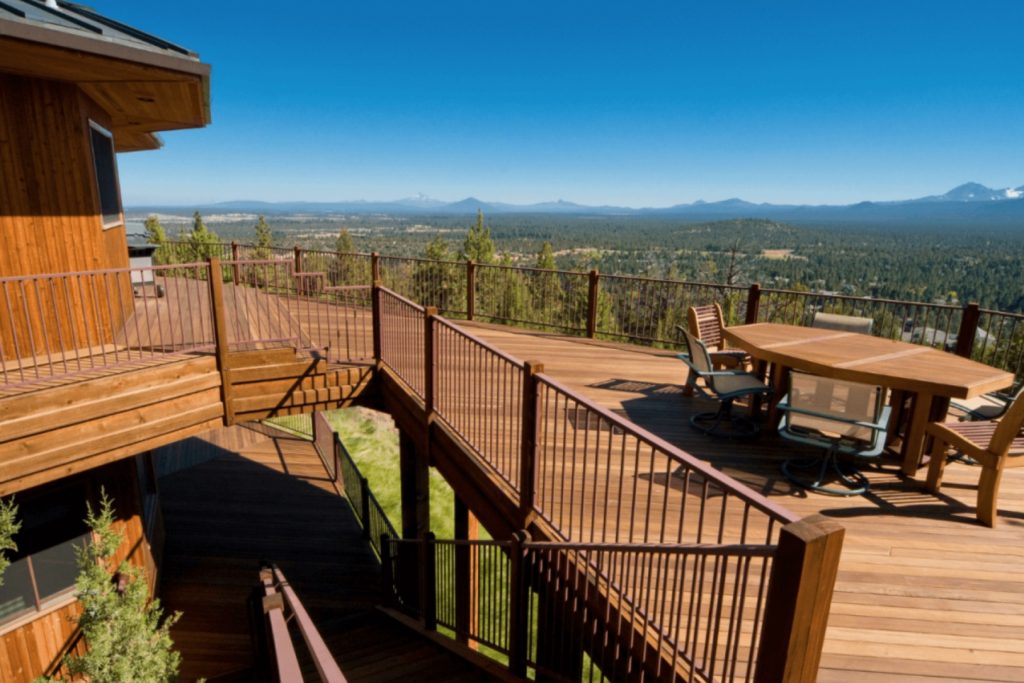
Having a deck attached to your house brings multiple advantages for any homeowner, offering additional outdoor living space for relaxing, entertaining, and enjoying the seasons. However, just like any other part of your home, it’s essential that this area is effectively maintained to sustain both its value and its safety. Weather exposure, age, and everyday wear can silently erode the integrity of even the sturdiest decks, which means many homeowners don’t realize their deck needs attention until a problem becomes serious, or dangerous.
This guide walks through seven proven warning signs that indicate your deck is due for a renovation, along with what to expect from the renovation process itself and how to choose the right professional for the job.
Why Deck Maintenance Matters
Outdoor decks are exposed to the elements 365 days a year. Rain, snow, humidity, UV rays, and temperature swings all take a toll on wood, metal fasteners, and structural connections over time. In Massachusetts specifically, homeowners deal with a particularly harsh combination of conditions, including humid summers, freezing winters, and constant freeze-thaw cycles that can crack wood, loosen joints, and corrode metal hardware.
Ignoring small issues doesn’t just shorten your deck’s lifespan. It can also create serious safety hazards for your family and guests. Below are the key indicators that it’s time to schedule a professional inspection or renovation.
1: Visible Damage to Wood or Decking Materials
One of the most obvious, and often most serious, signs that your deck needs attention is visible damage to the wood itself. If you’ve left your deck unmanaged for several years without sealing, staining, or repairing it, you may start to notice rot and decay near ground contact points and support posts, splintering or cracking boards that create tripping hazards, discoloration or mold growth signaling trapped moisture, and soft or spongy spots when you press on the wood.
Why Surface Damage Often Hides Deeper Problems
In many cases, homeowners don’t need professional deck builders to tell them something is wrong. The damage is visible to the naked eye. However, what’s not always obvious is how deep the damage goes. Surface-level rot can often mask more extensive structural decay underneath, which is why it’s important to have a trained eye assess the situation rather than simply patching the visible area.
If you notice any of these signs, especially on load-bearing components like beams, posts, or ledger boards, it’s time to contact a professional as soon as possible. Delaying repairs on structural rot can lead to a complete deck collapse in extreme cases, a risk no homeowner should take lightly.
2: Wobbling, Flexing, or Bouncy Sections
Decks are engineered to hold significant weight without any noticeable movement. If you’re walking across your deck and feel sections that bend, sway, wobble, or flex under your body weight, this is a major red flag that shouldn’t be ignored.
What Causes a Deck to Feel Unstable
Constant exposure to weather, including intense summer heat, moisture from rain and humidity, and the freeze-thaw cycles common
What to Consider When Designing Your Deck: 7 Essential Tips
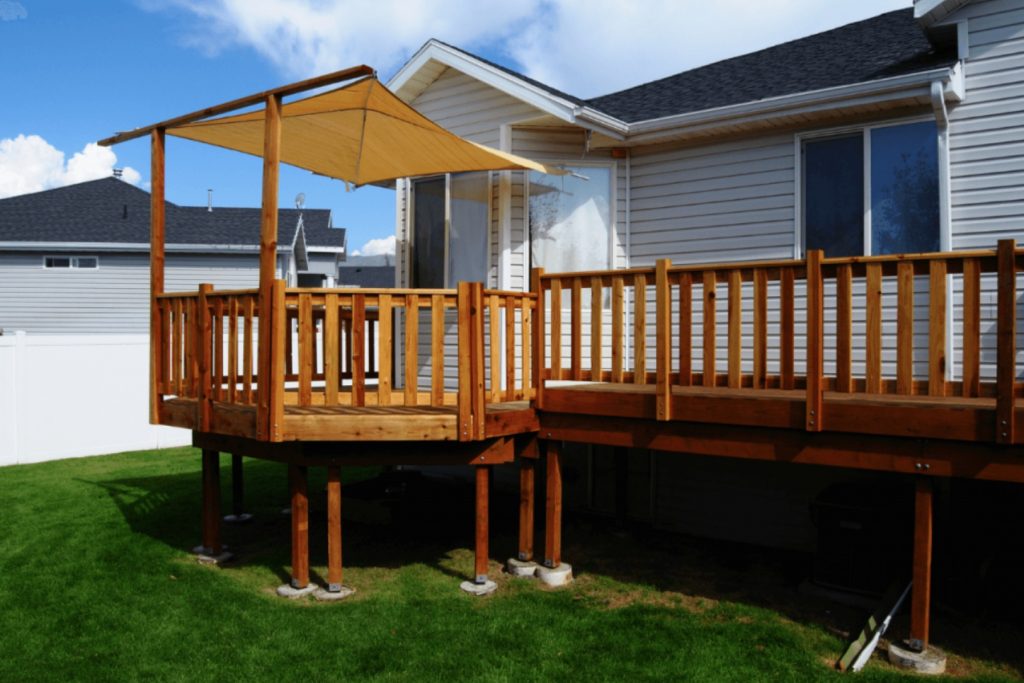
The advancements made in different sectors of construction and architecture have enhanced the level of flexibility enjoyed by homeowners in remodeling projects. Whereas in the past, building a deck would only deal with elements such as size and material, there are a plethora of customizable options available today. Understanding what to consider when designing your deck helps you avoid costly redesigns and ensures the finished structure genuinely fits how your household plans to use it.
This guide walks through seven essential factors to think through before finalizing your deck design, from its primary function to the finer details of built-ins and accessories.
Why Thoughtful Deck Design Matters
A deck represents a significant investment, both financially and in terms of how it will shape your outdoor living experience for years to come. Jumping straight into material selection or size decisions without first considering the bigger picture often results in a deck that looks fine but doesn’t genuinely serve your household’s needs.
Taking the time to think through function, placement, and features before construction begins helps ensure the finished deck becomes a space you’ll actually use and enjoy, rather than one that simply occupies space in your backyard.
1: Determine the Deck’s Primary Function
One of the main issues you should consider when hiring Newton MA deck builders is the motivation behind the project. You can use your deck for a variety of functions, including a resting spot, an entertainment space, container gardening, or outdoor dining. Your particular intentions will directly determine the modifications involved with the construction.
Designing for Relaxation
If your primary goal is a quiet retreat for relaxing, your design should prioritize comfortable seating areas, some shade coverage, and a layout that feels private and enclosed rather than fully open. Features like a pergola, privacy screening, or strategically placed planters can help create a more intimate atmosphere suited to this purpose.
Designing for Entertainment
If you plan on hosting gatherings regularly, your deck will need significantly more open space for movement, seating arrangements that accommodate groups, and possibly a designated area for a grill or outdoor kitchen setup. Traffic flow becomes an important consideration here, since guests need room to move comfortably between seating, dining, and food preparation areas without feeling cramped.
Designing for Gardening or Dining
A deck intended primarily for container gardening will need to account for weight distribution, drainage, and sunlight exposure across different sections. An outdoor dining-focused deck, meanwhile, benefits from a level, sheltered area sized appropriately for a table and chairs, ideally positioned near your kitchen for convenient access during meal prep and serving.
Combining Multiple Functions
Many homeowners want their deck to serve more than one purpose, such as combining a quiet reading nook with a larger entertaining area. In these cases, dividing the deck into distinct zones, perhaps through level changes, railings, or furniture placement, allows a single structure to comfortably accommodate multiple uses without feeling disjointed.
2: Choose the Right Location
Contrary to popular belief, a deck doesn’t have to be
How to Build a Deck on a Budget: 7 Proven Money-Saving Tips
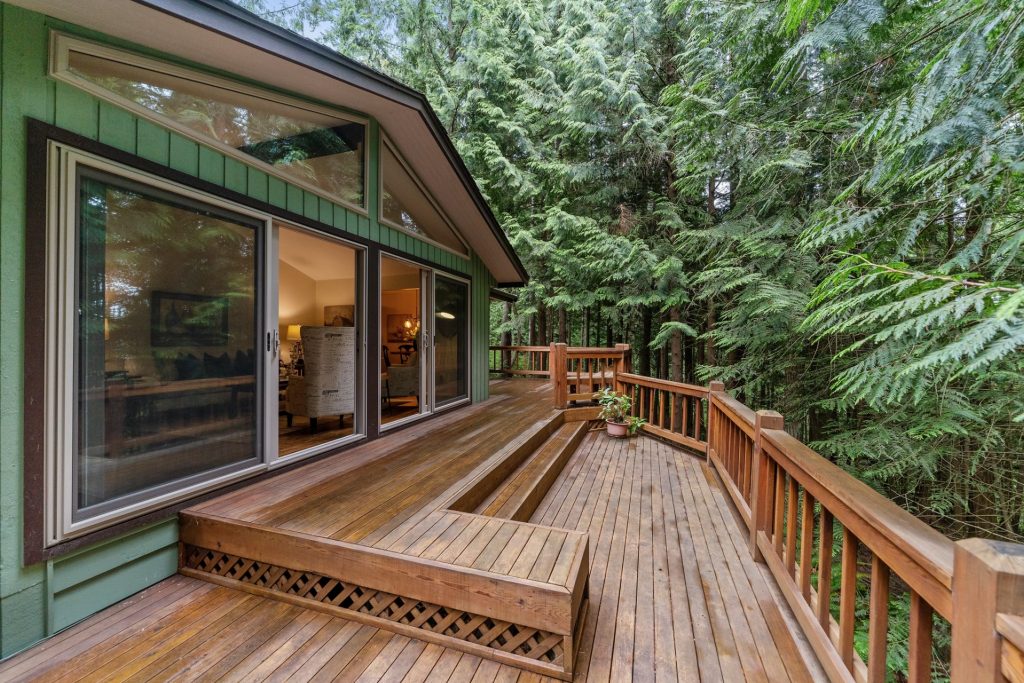
Renovation projects are more or less a significant investment, and costs can suddenly skyrocket if you don’t plan ahead and develop a suitable budgeting plan. Building a deck is, fortunately, one of the more affordable home remodeling projects available to homeowners. However, it’s still essential that you have a clear idea about the kind of money you want to spend before construction begins. Knowing how to build a deck on a budget without sacrificing quality or safety can help you achieve the outdoor space you want without unnecessary financial strain.
This guide walks through seven proven strategies for keeping your deck project affordable, from design choices to scheduling decisions that can meaningfully reduce your overall costs.
Why Budgeting Matters Even for a Smaller Project
Compared to larger renovations like a full kitchen or bathroom remodel, building a deck is often seen as a relatively affordable undertaking. That doesn’t mean costs can’t add up quickly if the project isn’t planned carefully. Small decisions made throughout the design and construction process, from material choices to scheduling flexibility, can each add incremental cost that compounds into a significantly larger total than originally anticipated.
Approaching your deck project with a clear budget in mind from the very beginning helps you make informed tradeoffs and avoid the kind of scope creep that turns an affordable project into an expensive one.
1: Maintain a Simple Design
One of the most effective ways of scaling down your costs is by maintaining a traditional, straightforward design when building your deck. Avoiding special features such as multiple levels, unique shapes, and wraparound placements will ensure you don’t have to deal with unnecessary expenses that quickly add up.
Why Complex Shapes Increase Cost
Every angle, level change, or curved edge in a deck design requires additional labor, more precise material cutting, and often more complex structural support than a simple rectangular layout. A basic, single-level rectangular design remains one of the most cost-effective options available, since it minimizes waste and reduces the time required for both framing and finishing work.
Where a Simple Design Still Allows for Personality
Choosing a simple overall shape doesn’t mean your deck has to feel plain or generic. Details like railing style, decking board orientation, and finish color can still add visual interest and personality to the space, all without the added structural cost that comes with a more elaborate footprint.
Planning for Future Expansion
If budget constraints mean you have to start with a simpler design now, consider discussing future expansion possibilities with your contractor. Building the initial structure with potential additions in mind, such as ensuring the footings can support a future extension, can save money down the road if you decide to expand later.
2: Use Affordable Materials
Another effective way to save money is by implementing more affordable materials into your project. Wood is generally the cheapest option available when building a deck, but it requires higher levels of ongoing maintenance compared to some alternatives. Vinyl is a bit more expensive …
Boost Your Deck’s Potential: 7 Proven Ideas to Try

Your deck can be an ideal place for entertainment when you want to host friends and loved ones in a sunny, relaxed environment. With a few simple changes, you can transform your deck from a mundane porch into an attractive spot for a little R and R, fun, and friendly interaction. Learning how to boost your deck’s potential doesn’t require a complete rebuild. Often, thoughtful additions and small design changes are enough to completely transform how the space feels and functions.
This guide walks through seven proven ideas for elevating your deck, from adding shade structures to choosing the right furniture and greenery for the space.
Why a Few Small Changes Can Make a Big Difference
Many homeowners assume that improving a deck requires a major renovation or complete rebuild, but in reality, some of the most impactful upgrades are relatively simple additions layered onto an existing structure. Shade, comfortable seating, and a touch of greenery can transform a plain, underused deck into a genuine extension of your living space.
Taking a thoughtful approach to these smaller additions, rather than making impulsive purchases, ensures each change works together to create a cohesive, inviting outdoor area rather than a collection of mismatched features.
1: Add a Pergola for Shade and Style
Hiring Deck Building professionals to install a pergola is a great way to offer some shade during the hotter hours of the day, while still encouraging a sufficient breeze to pass through the area. It also greatly enhances the overall aesthetics of the deck and your house in general.
How a Pergola Improves Comfort
A pergola’s open lattice structure provides partial shade without completely blocking airflow, striking a balance that keeps the space comfortable even during peak summer heat. Unlike a solid roof, a pergola allows dappled sunlight to filter through, creating a pleasant atmosphere rather than a fully enclosed, shadowed space.
Enhancing a Pergola With Additional Features
Many homeowners choose to pair their pergola with climbing plants like wisteria or climbing roses, which grow along the structure over time and provide natural, seasonal shade that changes character throughout the year. String lights or hanging lanterns attached to the pergola’s beams also add a warm, inviting ambiance for evening use.
Considering Size and Placement
The size and placement of your pergola should relate directly to how you use your deck. A pergola positioned over a dining area provides shaded comfort during meals, while one placed over a lounging area creates a shaded retreat for reading or relaxing throughout the day.
2: Introduce a Thoughtful Selection of Furniture
Multifunctional benches, outdoor cushions, and wicker chairs can immensely transform the look of your deck, and represent a haven where you can recharge after a long day. It’s essential to ensure that all furniture chosen is weather-resistant, particularly given the seasonal extremes common throughout Massachusetts.
Choosing Durable, Weather-Resistant Materials
Materials like powder-coated aluminum, teak, and synthetic wicker hold up significantly better against humidity, rain, and temperature swings than untreated wood or basic plastic …
Common Mistakes to Avoid When Building a Deck: 7 Tips
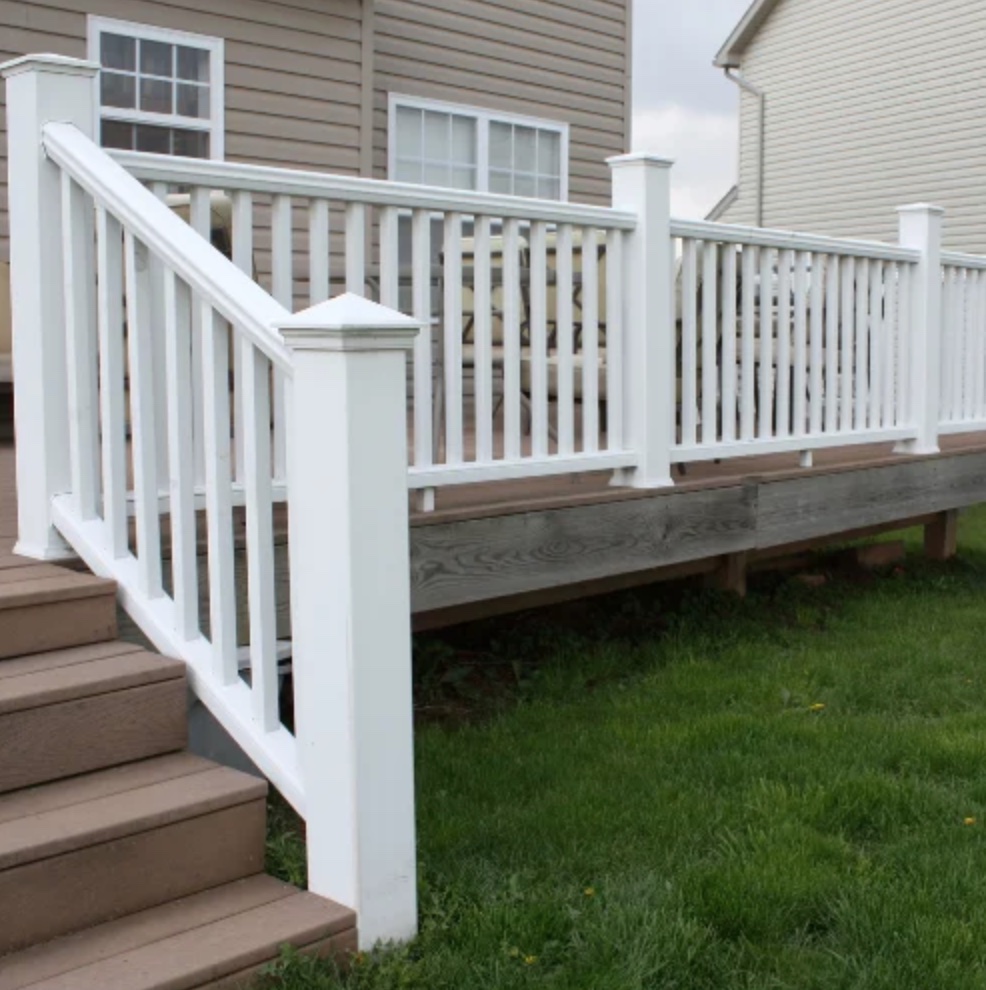
A deck can be a great place to rest and relax after a long day at work or finishing an exhausting list of chores. If you’re thinking about adding a deck to your home, however, there are a few common mistakes that you should look out for before and during construction. Understanding the common mistakes to avoid when building a deck ahead of time can save you from costly rework, safety hazards, and a finished structure that doesn’t hold up the way it should.
This guide walks through seven mistakes homeowners frequently make when building a deck, along with practical guidance on how to avoid each one and ensure your finished deck is both safe and built to last.
Why These Mistakes Happen So Often
Building a deck might seem like a relatively straightforward home improvement project compared to a full home addition, which is exactly why so many of these mistakes happen in the first place. Homeowners and even some less experienced contractors sometimes underestimate the structural, safety, and long-term maintenance considerations involved, leading to shortcuts that seem reasonable at the time but create problems down the road.
Understanding where these mistakes typically occur, and why they matter, helps you approach your own deck project with the right level of attention, whether you’re managing the build yourself or working closely with a professional contractor.
1: Improper Attachment of Beams and Support Posts
If you’re implementing a DIY project instead of hiring Deck Building professionals, a common misconception you should be aware of involves how the deck beam is attached to the support posts. Recent studies have found that notching the posts and allowing the beam to rest directly on top of the post, rather than being attached to the side of it, can significantly reduce the potential for structural collapse.
Why Side Attachment Is a Serious Structural Risk
When a beam is attached to the side of a post using only bolts or lag screws, the connection relies entirely on the strength of the fasteners to support the full weight of the deck above. Over time, wood can shrink, fasteners can loosen, and the connection can weaken significantly, particularly under heavy loads like large gatherings or accumulated snow during Massachusetts winters.
How Notched Post Connections Improve Safety
By notching the top of the support post and allowing the beam to rest directly on this notch, the weight of the deck is transferred through solid wood-to-wood contact rather than relying solely on fasteners. This approach distributes the load far more effectively and significantly reduces the risk of a catastrophic failure, even if individual fasteners weaken over time.
Why This Mistake Is So Common in DIY Builds
Many DIY builders aren’t aware of this structural distinction, since side-mounted beam connections are visually simpler to execute and don’t require the additional step of notching each post. Unfortunately, this shortcut is one of the more dangerous mistakes on this list, since beam and post connections are foundational to the entire structure’s integrity.
2:
…Why You Should Hire a Contractor to Build Your Deck: 7 Reasons
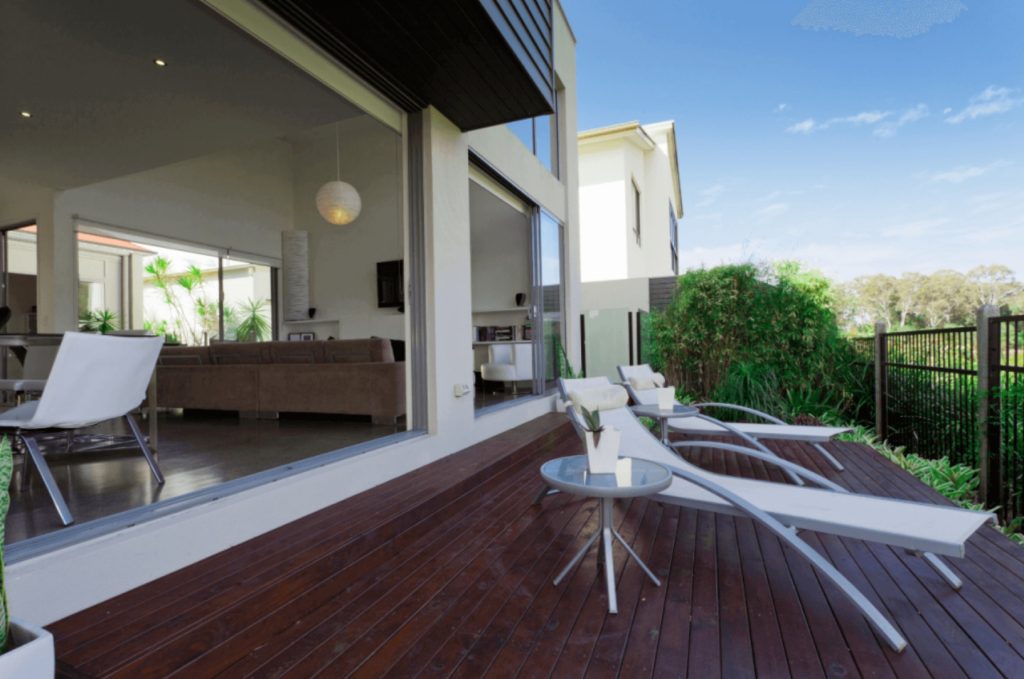
Building a deck is a great way to enhance the picturesque value of your home. It might seem like a relatively minor inconvenience, appearing to be a straightforward project that could be completed in a matter of days, but the reality of a proper deck build involves far more planning, structural knowledge, and technical skill than most homeowners initially expect. If you’re thinking about adding this extension to your residence, hiring a contractor ensures you can turn your vision into reality while achieving a genuinely satisfactory, safe, and long-lasting result.
This guide walks through seven compelling reasons why you should hire a contractor to build your deck, covering everything from craftsmanship and speed to design flexibility and long-term value.
Why This Decision Deserves Careful Consideration
A deck is more than a simple platform attached to your home. It’s a structural addition that needs to support significant weight, withstand years of exposure to Massachusetts weather, and meet specific building codes designed to keep everyone who uses it safe. While DIY home improvement projects can be rewarding for smaller tasks, a deck build involves enough structural complexity, safety considerations, and design nuance that the value of professional expertise becomes clear once you understand everything involved.
Weighing the reasons below against the appeal of a DIY approach helps you make an informed decision about which path is right for your specific project and comfort level with construction work.
1: Enhanced Quality and Craftsmanship
It’s highly unlikely that you’ll be able to do a better job than a professional with years of dedicated experience building decks specifically. If you’re seeking a genuinely polished, well-executed addition to your home, hiring an established contractor is your best chance of achieving that level of quality.
What Professional Craftsmanship Actually Looks Like
The difference between professional and amateur deck work often shows up in the details that aren’t immediately obvious but become apparent over time. Evenly spaced decking boards, precisely cut angles at corners, properly countersunk fasteners, and a level, consistent surface throughout are all hallmarks of experienced craftsmanship. These details aren’t just cosmetic. They also contribute to the deck’s long-term durability and structural performance.
Experience With Structural Best Practices
Professional deck builders bring knowledge accumulated across dozens or even hundreds of previous projects, including structural best practices that aren’t always obvious to a first-time builder. This includes proper beam-to-post connections, adequate footing depth for the local frost line, and correct fastener selection for specific decking materials, all of which directly affect the safety and longevity of the finished structure.
Avoiding Costly Mistakes
Amateur builders often don’t recognize structural mistakes until they’ve already caused problems, sometimes years after the deck was completed. A professional contractor’s experience allows them to identify and avoid these mistakes from the outset, saving you from the far more expensive process of diagnosing and repairing structural issues after the fact.
2: A Significantly Speedier Process
Professionals will likely be able to finish the job in a considerably shorter time frame compared to an amateur …
How to Build a Wood Pallet Deck: A Simple DIY Guide
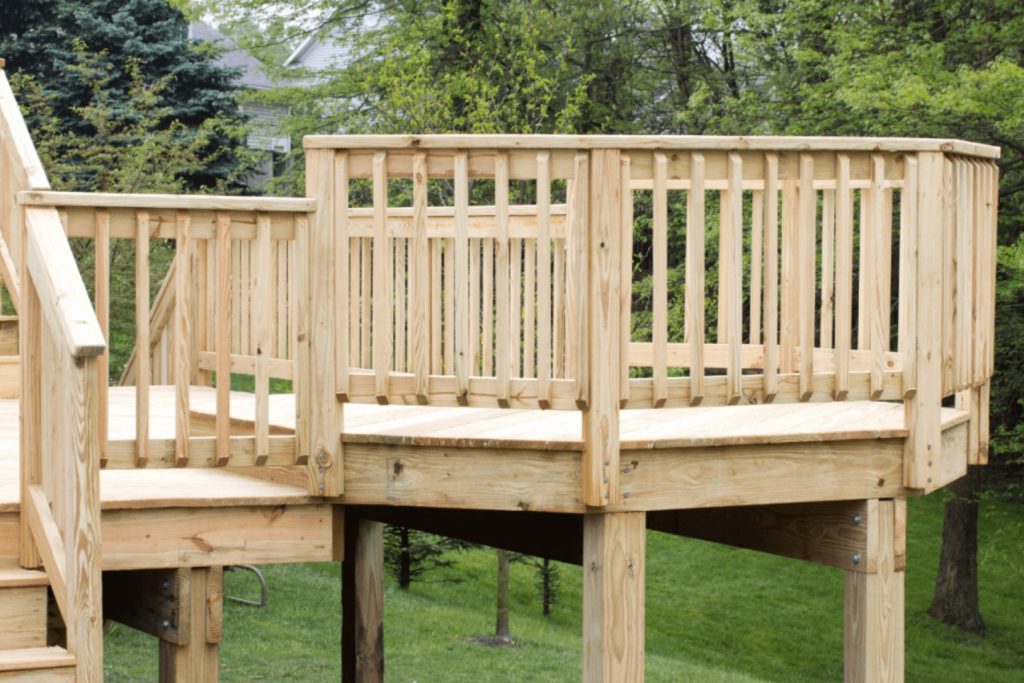
Adding a deck to your house is a great way to raise the resale value of your residence without having to make a significant financial investment. It’s also one of the few outdoor additions you can realistically take on yourself, particularly if all you’re after is a simple, low-cost design rather than an elaborate multi-level structure. A wood pallet deck is one of the most accessible DIY projects available to homeowners, using repurposed materials to build a functional outdoor platform at a fraction of the cost of professionally installed decking.
This guide walks through exactly how to build a simple wood pallet deck, from sourcing the right pallets and preparing your site to assembling and sealing the finished structure, along with the safety and durability considerations that most quick tutorials skip over.
Is a Pallet Deck Actually a Good Idea?
Before getting into the build process, it’s worth being upfront about what a pallet deck is, and isn’t, well suited for. This project makes the most sense for a low, ground-level platform used for casual seating, a small patio table, or a garden nook, rather than an elevated structure meant to bear significant ongoing weight or replace a permitted, code-compliant deck attached to your home.
Pallet decks sit close to grade, aren’t engineered the way a traditional joist-and-beam deck is, and generally aren’t built to satisfy local building codes the way a permitted deck would be. If your goal is an elevated deck attached to your house, particularly anything requiring railings under Massachusetts code, that project calls for proper footings, structural framing, and likely a licensed contractor rather than repurposed pallets. But for a simple, ground-level DIY platform, pallets remain a genuinely practical and affordable option.
1: Source the Right Pallets
Purchase 10 to 20 wood pallets of traditional size, usually considered to be 48 inches by 40 inches. The number you need depends on the height you’re going for. If you want a bit of elevation between you and the ground, you’ll need enough pallets to stack one layer on top of another.
Where to Find Pallets Safely
Pallets can often be sourced for free or at low cost from local hardware stores, garden centers, and shipping or distribution warehouses that regularly need to dispose of them. Reaching out directly and asking whether they have pallets to give away is frequently more effective than searching classified listings, since many businesses are happy to have someone haul them off rather than pay for disposal.
Why the “HT” Stamp Matters More Than Anything Else
Not all pallets are safe to use for a project you’ll be sitting, walking, or placing furniture on. Every legitimate pallet is stamped somewhere on its frame with an IPPC logo and a code that tells you how it was treated. Look specifically for the letters HT, which stands for heat-treated. Heat-treated pallets are safe for outdoor DIY use since the wood was kiln-dried rather than chemically treated.
Avoid any pallet stamped MB, which indicates …
What to Consider When Adding a Deck to Your Home: 7 Tips
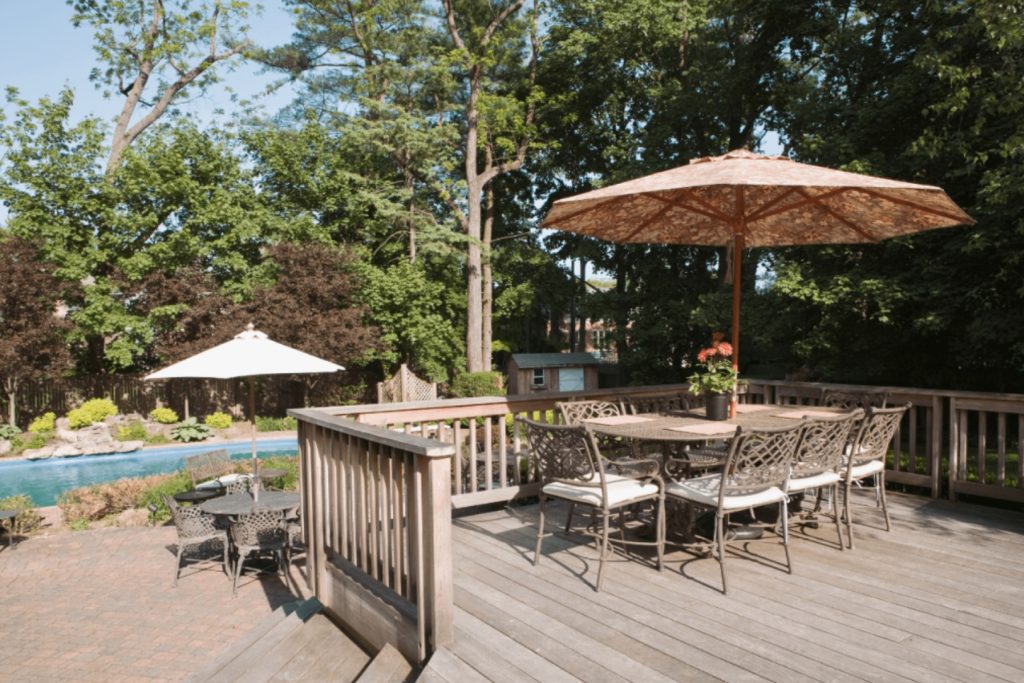
A deck can be an excellent addition to your home if you have the space for it. There are numerous reasons to add this extension, since a deck offers multiple opportunities for entertainment, rest, and relaxation that extend your living space well beyond the walls of your house. Before diving into design decisions, though, understanding what to consider when adding a deck to your home helps you avoid regulatory surprises, unexpected costs, and construction delays that catch many first-time deck owners off guard.
This guide walks through seven important factors to think through before hiring Deck Building professionals, covering everything from permits and property taxes to sizing restrictions and long-term planning.
Why These Considerations Matter Before You Start Designing
It’s tempting to jump straight into choosing materials, colors, and layout when planning a new deck, since these are the fun, visible decisions that shape how the finished space will look and feel. But several less obvious factors, including legal requirements, tax implications, and property boundaries, can significantly affect what you’re actually allowed to build, and skipping this groundwork can lead to costly redesigns or even forced removal of a completed structure.
Addressing these practical considerations early in the planning process protects your investment and ensures the deck you eventually build is one you’re legally and financially prepared to own.
1: Understand Permits and Regulations
The first issue to consider is whether you need a permit or license to add this extension to your home. The rules vary significantly by location, so checking your local regulations is a genuinely important first step before finalizing any design plans. In some areas, for instance, a permit isn’t required as long as the deck sits no more than 30 inches off the ground, though this threshold and the surrounding requirements differ from one municipality to the next.
Why Permit Requirements Exist
Building permits for decks typically exist to ensure the finished structure meets minimum safety standards for footing depth, structural load capacity, and railing requirements where applicable. The permitting process usually includes inspections at key stages of construction, verifying that footings are properly sized and set below the local frost line, and that any required railings meet height and spacing standards designed to prevent falls.
Consequences of Skipping the Permit Process
Building without a required permit can create serious complications down the road, well beyond the immediate risk of fines. Unpermitted structures are frequently identified during home inspections when a property is later put up for sale, which can delay closing, reduce your home’s appraised value, or in some cases require the deck to be retroactively permitted or even partially rebuilt to bring it into compliance. Given how disruptive and expensive these outcomes can be, confirming permit requirements before construction begins is always the safer path.
How to Confirm Requirements for Your Specific Property
Contact your local building department directly, or work with an experienced local contractor who’s already familiar with the specific permitting process in your area. Requirements can vary not just by